1. Aperture/iris

Illustration of  people in focus and out of focus

The opening or aperture of a lens, also known as the iris, greatly affects the amount of light reaching the sensor. The f-number of the lens is the quotient of the focal length of the lens and the diameter of the opening.

For example, a 50 mm lens with a 25 mm aperture would have an f-number of 2.0, as 50/25=2. The higher the f-number, the smaller the opening will be, and vice versa. A lower f-number means that more light will reach the sensor.

Picture: The aperture also affects the depth of field, that is, how much of the scene that can be in focus at the same time.

Possible mitigation
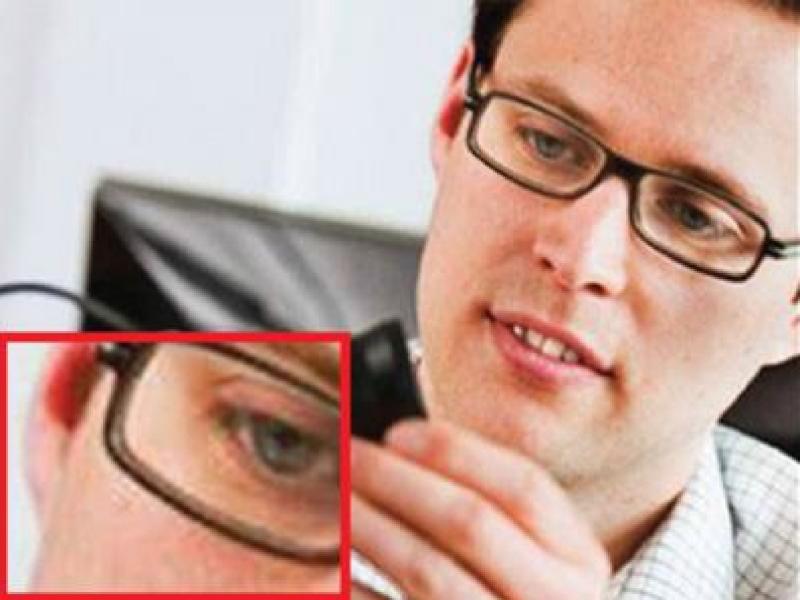
  • The ability to control a camera’s iris opening plays an important part in image quality. The iris maintains the light level reaching the image sensor at an optimum, so that images are sharp, clear and correctly exposed, with good contrast and resolution. The iris can also control the depth of field. Iris control can be fixed or adjustable. Adjustable iris lenses can be manual or automatic (auto iris and P-Iris).
     
  • In indoor environments where light levels can be constant, a lens where the iris is fixed at a certain f-number can be used. However, the camera can also compensate for changes in the light level, by adjusting the exposure time or the gain setting.
     
  • A manual iris lens is adjusted by turning a ring on the lens to open or close the iris. This is not convenient in environments with changing light conditions, such as in outdoor surveillance applications.

2. Shutter speed

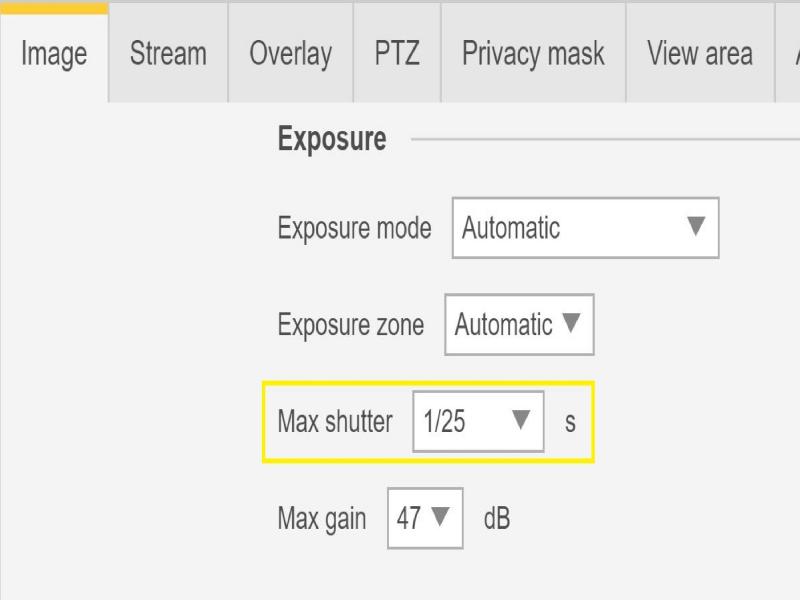
Max Shutter Shutter Speed (pic 2.)

Another camera setting directly connected to the amount of light available in the scene is the shutter speed. This is the amount of time that the shutter is opened for, allowing light to enter and hit the sensor and create an image, for example 1/50th of a second.

    Possible mitigation
    • When there is more light available, the shutter do not need to stay open for as long, so faster shutter speeds are possible. As the light decreases, the shutter speed needs to be slower, to allow the sensor more time to get enough light to form an image.
       
    • When the shutter speed is very slow, anything moving in the scene will appear blurred in the image, as the object's position changes during the capture. This is called motion blur and have a negative effect on both image quality and usability of video.

    3. Gain and noise

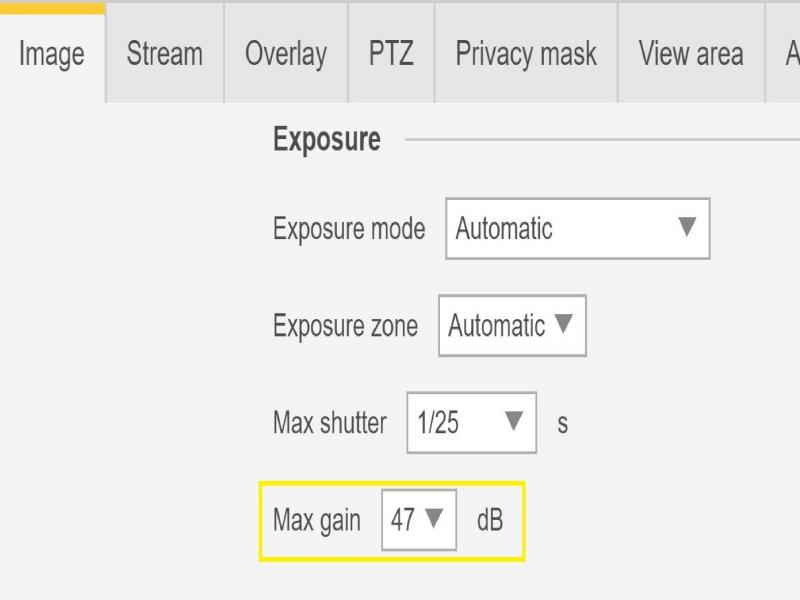
    Many cameras employ an internal boost of the image signal, called gain. To enable image capture in low light without affecting the shutter speed or the depth of field, the weak sensor signal can be electronically amplified, resulting in a brighter image.

    A side-effect of this is that tiny imperfections in the image are also amplified and are reproduced as image noise.

    Picture: Noise degrades image quality and generally increases the bandwidth needed for the video stream.
    Possible mitigation

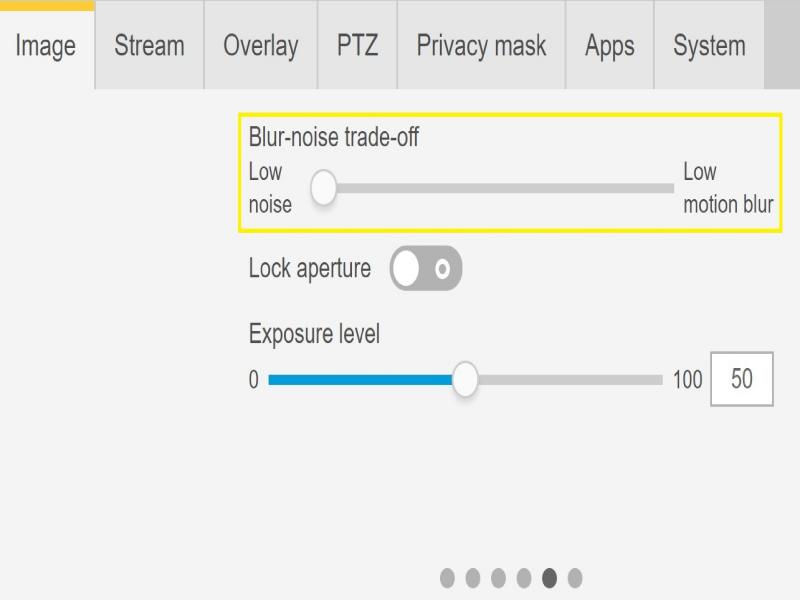
    • Axis cameras automatically adjust the aperture, shutter speed, and gain to produce an image that is always correctly exposed. It is also possible to specify a priority setting to favor either low noise or low motion blur, depending on your requirements.
    • The setting blur-noise trade-off is used to adjust the priority between motion blur and noise. If you want to prioritize low bandwidth and have less noise at the expense of details in moving objects, adjust this parameter towards Low Noise. If you want to prioritize the preservation of details in moving objects at the expense of noise and bandwidth, adjust the parameter towards Low Motion Blur. Further information can be found on camera’s help page

    4. White balancing

    Many cameras try to automatically determine the color temperature and then set the white balance. You can also set the white balance to a fixed color temperature depending on the light fixtures in the scene, for example fluorescent lamps or tungsten bulbs.

    Possible mitigation

    • If your image is unnaturally blue, check your white balance settings!

    5. Mains frequency-induced flickering

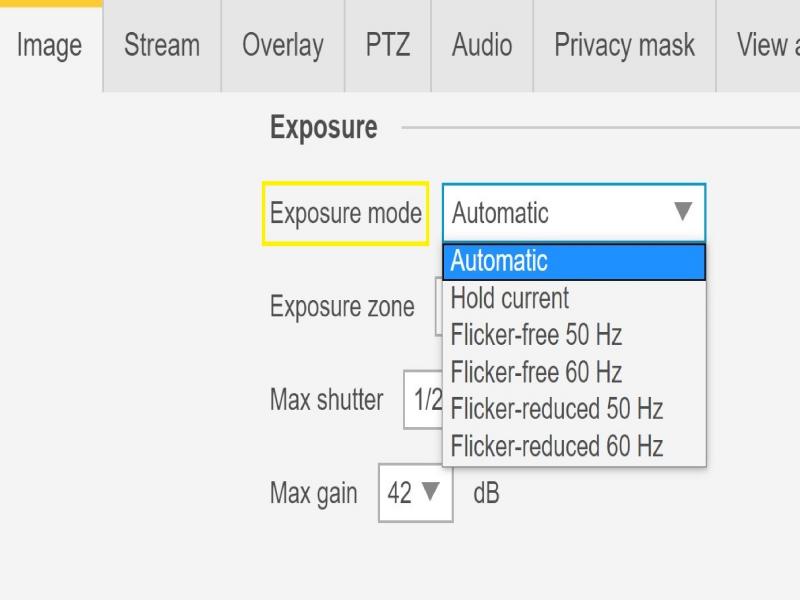
    Exposure Mode Exposure Mode (pic 5.)

    Fluorescent lighting is very common in stores, warehouses and office environments. In this kind of lighting, the lamp turns on and off at a rapid pace, although to the human eye this appears as a steady flow of light. At certain camera shutter speeds, however, this flickering will create an undesirable effect in the video stream.

    Possible mitigation

    • Enabling the flicker-free option in the camera allows it to adjust its shutter speed to avoid the flickering effect.
    • Depending on the geographical location, the power frequency will be either 50 Hz or 60 Hz, and this value must also be set in the camera, to get proper results from the flicker-free setting.
    • If necessary, time-controlled or triggered activation/deactivation via Event Management.

    6. Backlight compensation

    Forensic wdr (pic 6.-1)

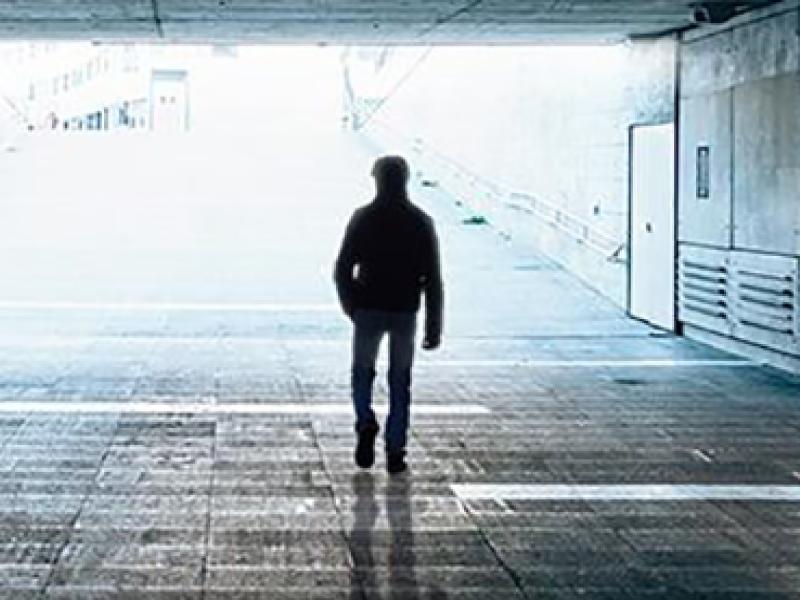
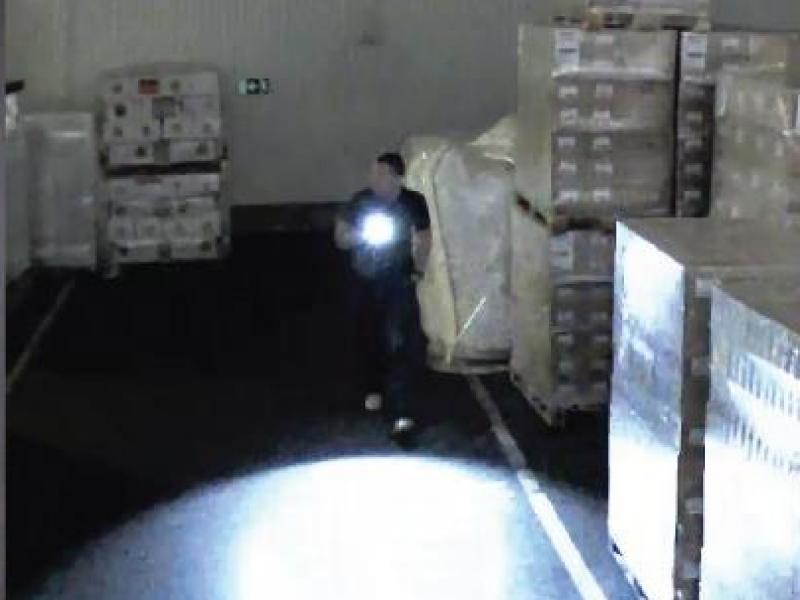
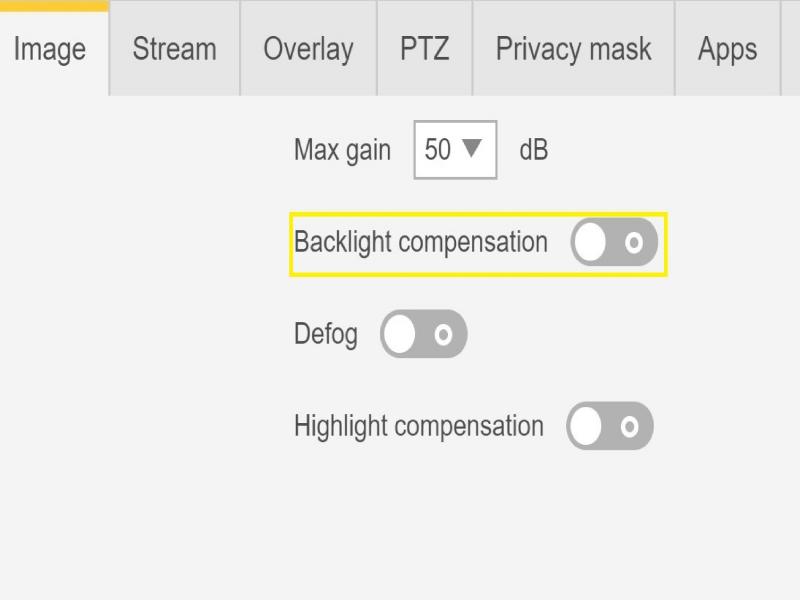
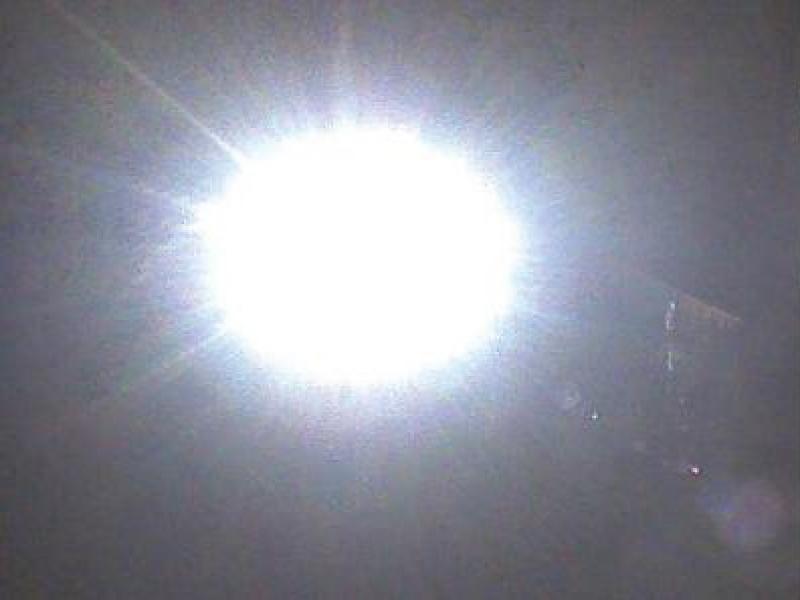
    To produce a balanced exposure the camera adjusts the shutter speed and aperture according to the available light. In some scenes, there may be some areas that are much brighter than others, as caused by reflections, strong lights, or sunlight coming through a window. These overly bright areas may cause the camera to lower its exposure settings, thereby making most of the image too dark.
      Possible mitigation

      • By enabling the backlight compensation setting, the camera will ignore any isolated bright areas and keep the exposure at a suitable level for the darker parts of the scene. There is a possible problem of over-exposure and washed out colour display if the backlight compensation is active by default. The solution would be to disable it.
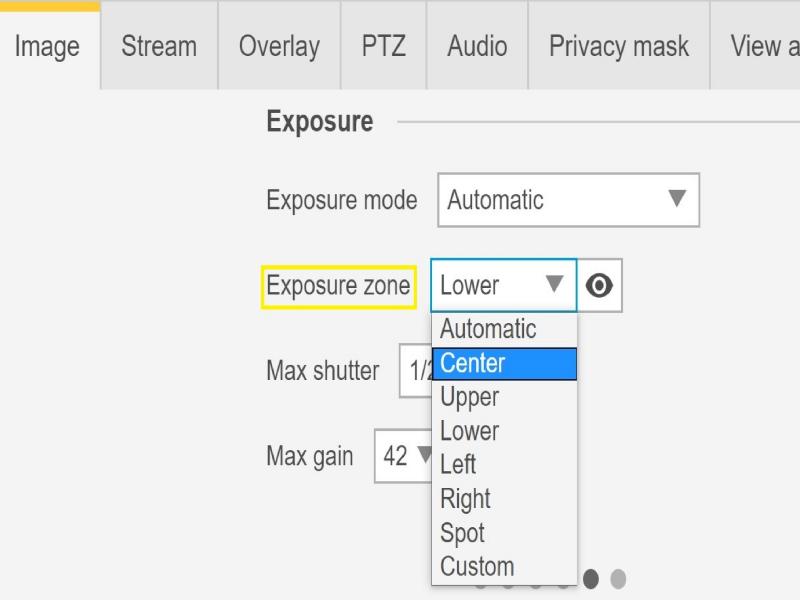
      • In some cases, parts of the scene are more important than others. Areas of low importance should have little or no influence on the exposure. The solution would be to divide the image into image areas and assign different weightings for the exposure algorithm.

      7. Wide dynamic range mode (WDR)

      Illustration of diffrent lights

      The difference between the darkest and brightest parts of a scene is called the dynamic range. If the dynamic range is wider than the capabilities of the camera’s sensor, the dark parts will be rendered as all black, and the bright parts will be all white.

      Picture: The first two images show how the dynamic range in the monitored scene causes parts of the image to be overexposed or underexposed. In the image to the right, WDR dynamic capture has been used, resulting in a balanced image with all areas visible.

      Possible mitigation

      • Some cameras feature a Wide Dynamic Range mode (WDR), which uses various techniques to try to compensate for extremes of brightness in the scene. Try this setting if there are very dark and very bright areas in your scene. If possible, try to position and aim your cameras to avoid extreme variations in brightness.

      7.1 Possible artifacts in WDR imaging

      • Motion Blur
      • Ghosting
      • Artifacts caused by Flickering
      • Banding Noise
      • Cartooning and over-sharpening
      • Color Deviations
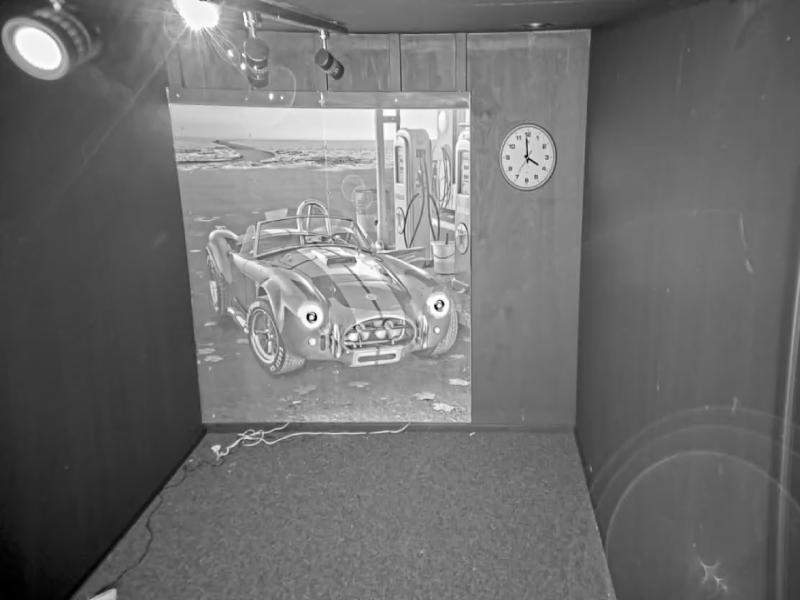
      • Lens Flares and Haze
      • Purple Fringing


      When WDR is on, the purple fringing issue might occur in some light conditions depending on how the light comes into the camera.
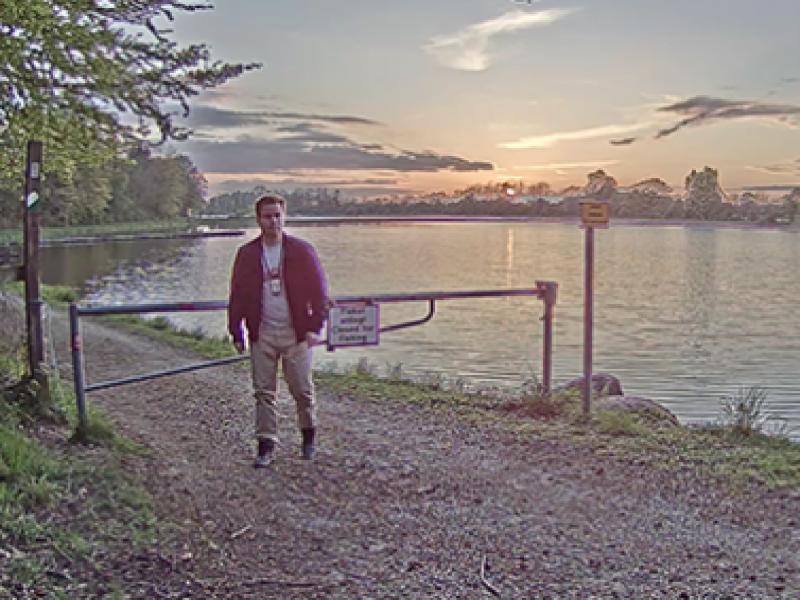
      Possible mitigation
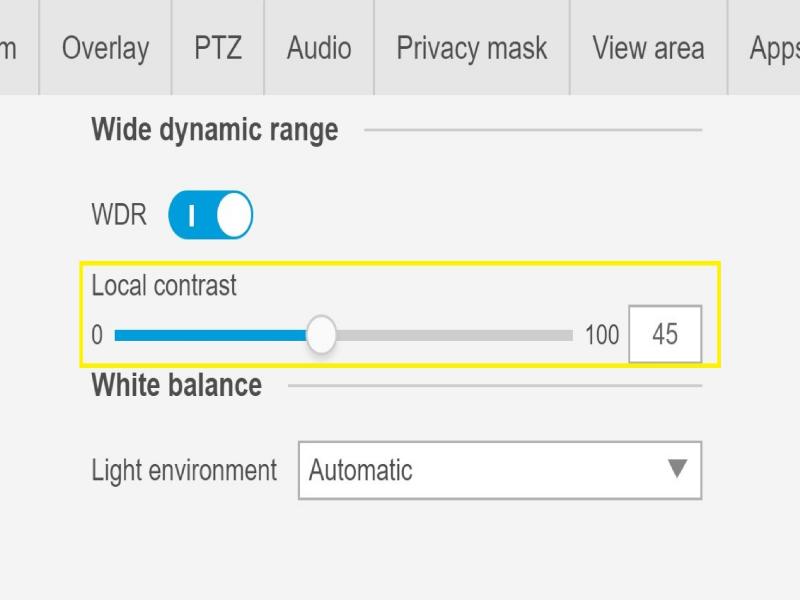
      • There is a slider under the WDR settings where you can adjust the local contrast (see attached screenshot). Please check also the white paper and web article below about the WDR technology and its effects.
      • Unfortunately, we can't get rid of these WDR artifacts. It is advised to try WDR off with fixed exposure and gain that suits the specific scenes. The scene will be darker or more exposed in some cases. Reducing the 'color' settings (brightness, contrast section), in some scenes will be of some help.

      8. IR reflections

      IR Reflections IR Reflections (pic 8.-1)

      Cameras that can use IR light for imaging have so-called "day-and-night functionality” or are "day-and-night cameras". They can employ either natural IR light, such as moonlight, or artificial, from incandescent light bulbs or a dedicated IR light source.

      All cameras that have built-in IR illumination are day-and-night cameras, but a day-and-night camera does not necessarily have built-in illumination.

      The IR reflections on the fixed dome cameras with built-in IR are usually caused by the following:

      • IR-Reflection from nearby objects
      • Reflections from external light sources
      • Water droplets on the outside of the bubble
      • Dirt and dust

      Possible mitigation

      • Avoid direct reflections from nearby objects. The IR beam should not be directed towards near walls or ceilings, windows, and other objects with high reflectivity. Highly reflective objects could be covered or painted to reduce reflections.
      • When installing the camera on a wall or a ceiling, the lens should be tilted as little as suitable for the installation to avoid reflections from the nearby surfaces. The rubber ring around the lens should not be removed as it prevents light interference. It is important that the rubber touches the bubble.
      • External light (for example another camera or white light lamp) pointing towards the camera might lead to reflections in the bubble.
      • Even small water droplets, dust, and other objects such as spider webs on the bubble will deteriorate image quality substantially by reflecting IR light. If possible, the camera should be mounted in a place where it is less exposed to the weather.
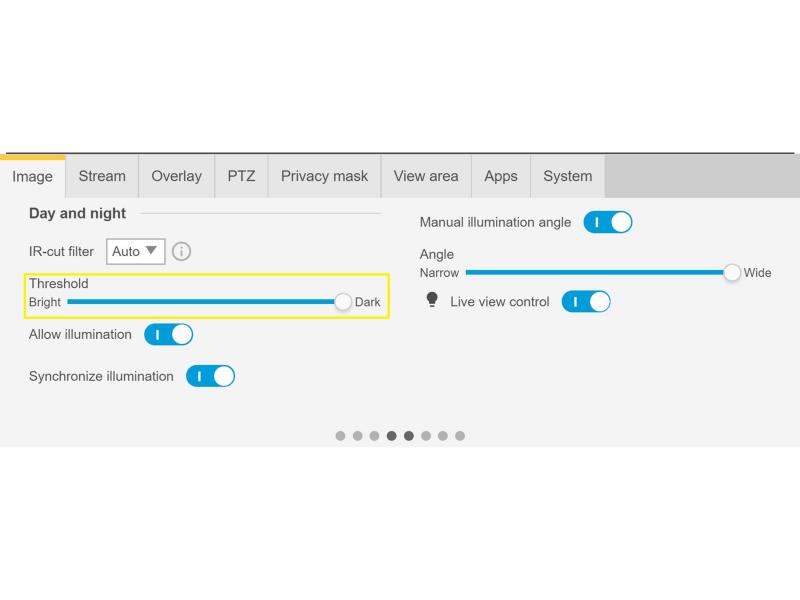
      IR settings IR Threshold (pic 8.-2)
      • The camera bubble should be regularly cleaned to remove dirt and dust. We recommend using a mild soap detergent, water and a soft microfiber cloth to avoid scratches on the camera. Dust on the camera could be removed with compressed air. In some situations where water droplets are a common issue it may help to regularly apply a water repellent spray on the outside of bubble such as those used for the visors of motorcycle helmets.
      • There is also the possibility to adjust the intensity of the IR LEDs on the camera's Live View page to adapt the best light intensity and reduce the risk for reflection.

      9. Camera location – on the sunny side

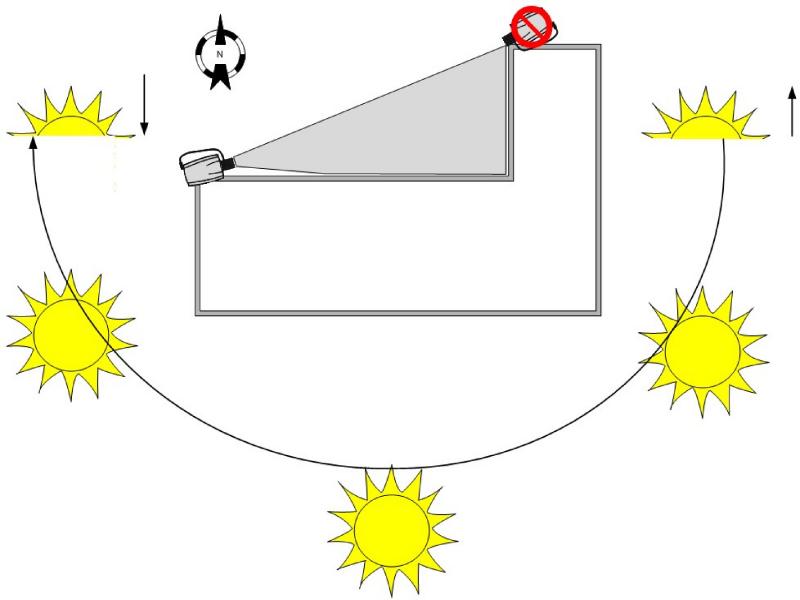
      Sun Exposure Sun Exposure (pic 9.)

      One thing to consider when installing cameras in an outdoor environment is how the camera is installed in relation to the way the sun would travel over the sky.

      Possible mitigation

      • If the exterior of a building is to be monitored, the camera location can be more or less affected by direct sunlight. By having an understanding of the way the sun travels over the sky, the camera location can be selected to minimize the effects of the sun.

      10. Opening a support case

      It might happen that the above factors and mitigations do not help identify and solve the image quality issue.  You are welcome to open a support case and provide the below needed information and data.

      Note: It is always important to test the devices on the latest firmware on an LTS track or Active Track if possible.

      10.1 Data and information needed

      Note: Please do not forget to add the Server Report of the device! 

      • When did this happen? After installation or after some time? Is there any pattern?
      • Are there other cameras of the same model that have this issue?
      • We rely on recordings and pictures for image quality troubleshooting. Please attach them to the case.
      • Please provide the summary of the steps you performed from the possible mitigations explained in this document

      [Please contact technical support with all questions answered and files attached]

      Support tip: How to download a Server Report

      note

      Note

      Axis cameras will operate as intended if installed as specified by the Installation Guide. Generally, the dome of the device should be facing the ground when operating or testing the devices.

      Please note that Axis does not take any responsibility for how the modification of the configuration described in this guide may affect your system. If the modification fails or if you get other unexpected results, you may have to restore the settings to default.

      The guide does not cover all possible issues but rather the most seen through the support cases. As an Axis Customer you are always welcome to contact Axis Support whenever you need with any type of issues listed or not in this troubleshooting guide.