Focus
This article will guide you through some useful steps in troubleshooting your Axis network cameras.
1.1.1 Optimal image with the dome/front glass
Axis focus mechanism and especially the autofocus are optimized to work with the dome/front glass coming with the camera only. Using either a different or no dome or placing the camera behind additional glass constructions could affect the focus performance.
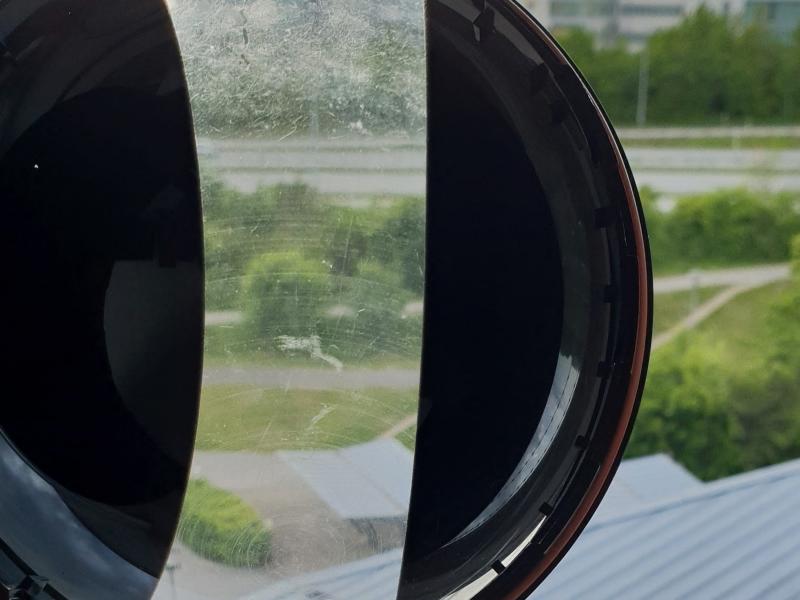
1.1.2 Dirty or scratched dome bubble and front glass
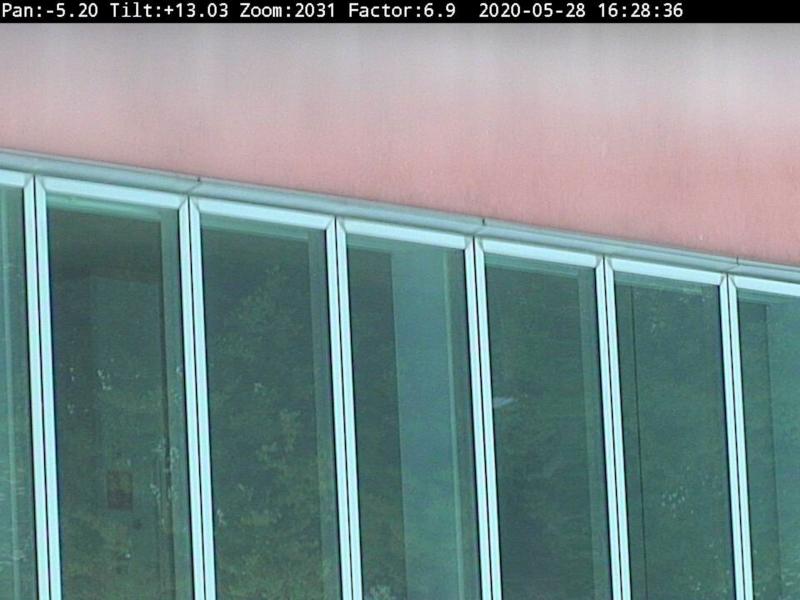
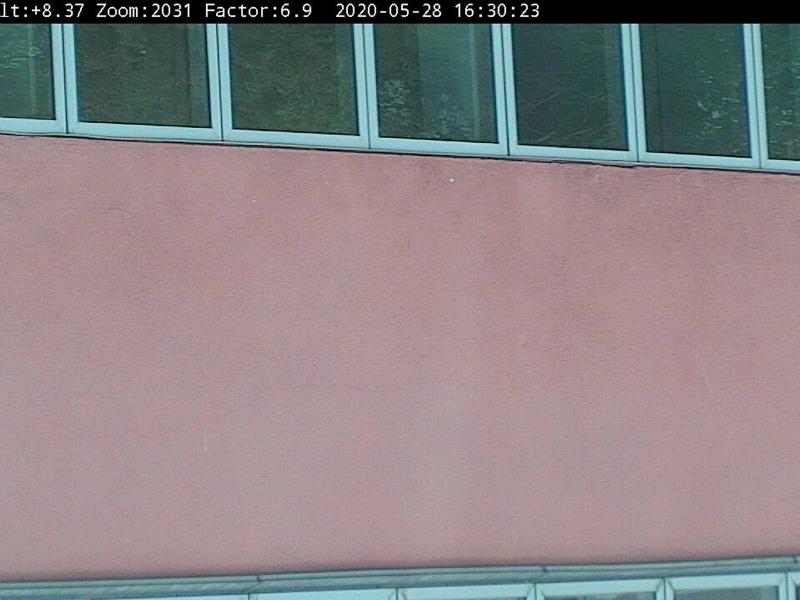
A dirty or scratched bubble/front glass will affect the image quality, making it especially hard for the autofocus. For some PTZ devices it is always good to test on different areas of scene/dome areas and detect if the result is the same across different dome areas and zoom levels.
Possible mitigation
1.1.3 Double image effect
Depending on the model, the bubble dome might have a visual effect near the horizon
Possible mitigation
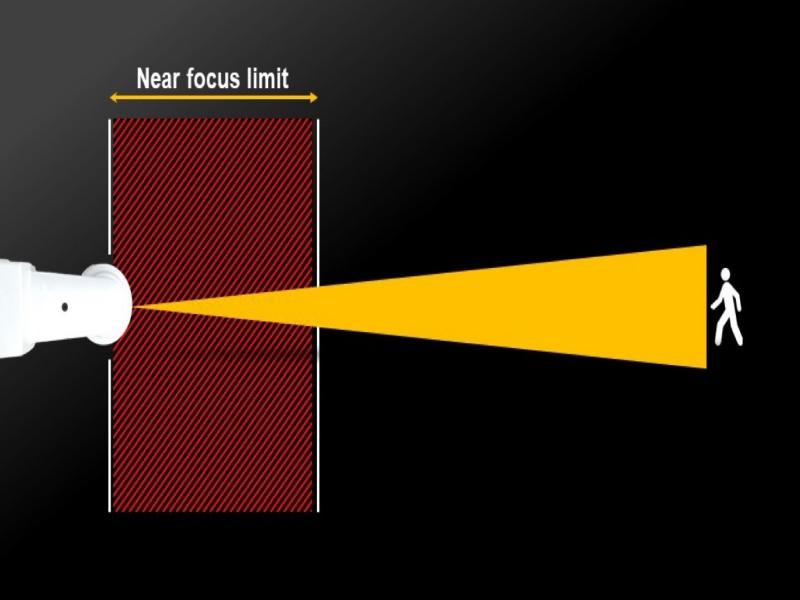
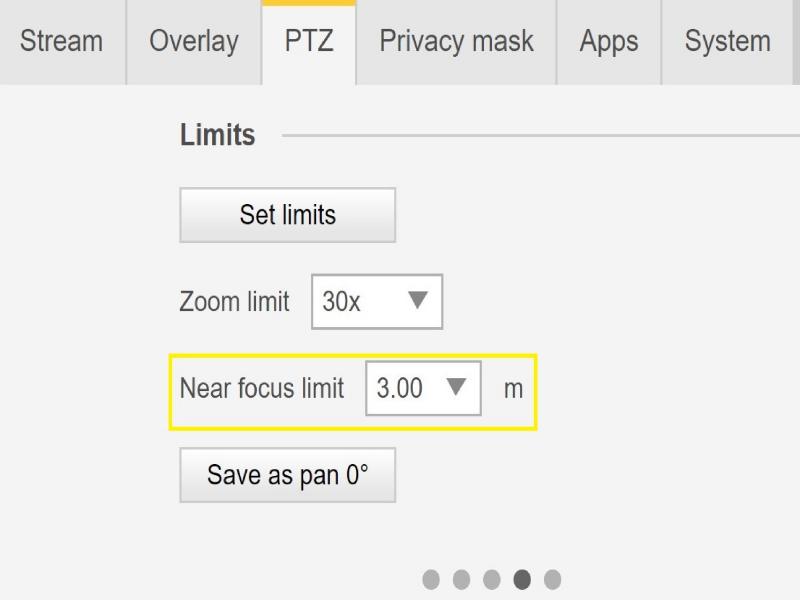
Objects that are close by can be ignored by the autofocus mechanism depending on distance of the objects to the camera and a value set in the camera – the “near focus limit” (generally 3m).
1.2.1 Near focus limit
The near focus limit can be set to avoid focusing on objects too close to the camera, hence making it a good way to help the camera speed up focus on the desired range/distance. The camera will simply ignore the near focus zone. It’s recommended to test focus issues with the lowest value temporary.
Possible mitigation
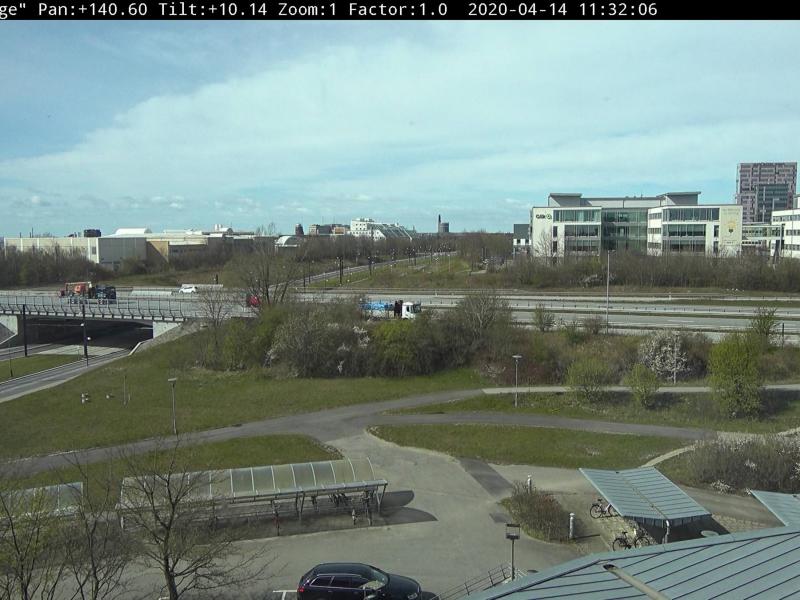
1.3.1 Optimal light scene
The best way to test an autofocus behavior is to start with a strong neutral light and strong contrast scene (strong illuminated scene). The autofocus mechanism is based on the amount of light and contrast detection. The focus behavior can also differ depending on what type of optics the camera model is based on.
1.3.2 Mixed-light
The most difficult scenes for our cameras are mixed light conditions where no dominant light sources are available. This is making it difficult for the focus algorithm to find the right focus point to provide a good image.
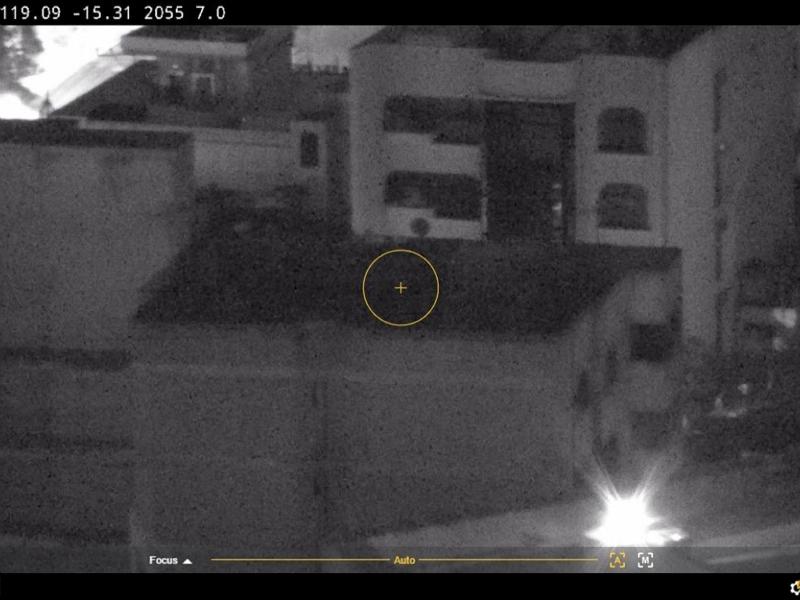
Possible mitigation
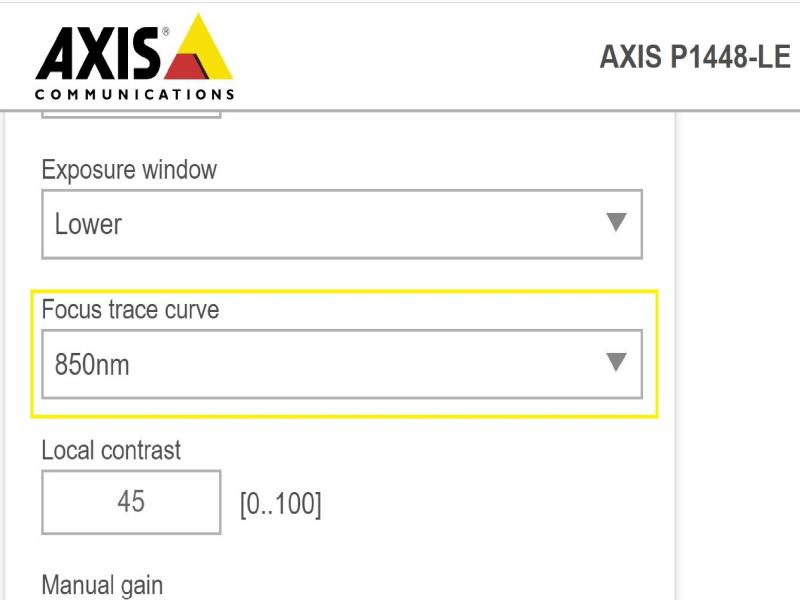
Some cameras support an adjustable focus trace curve or an automatic function within the camera block to focus on the "strongest" light source (either IR-light or normal light) available in the scene. You can set this value manually in the PlainConfig:
The focus trace curve is only applicable when the IR cut filter is “off”.
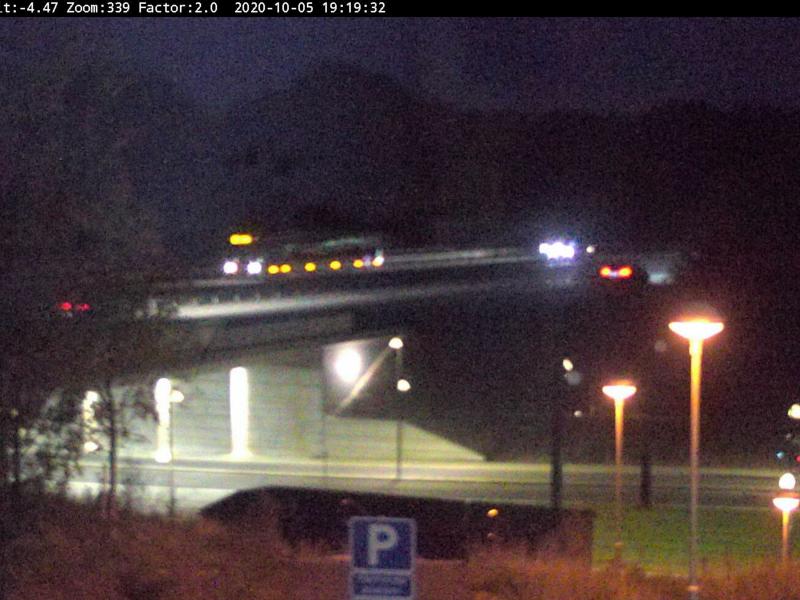
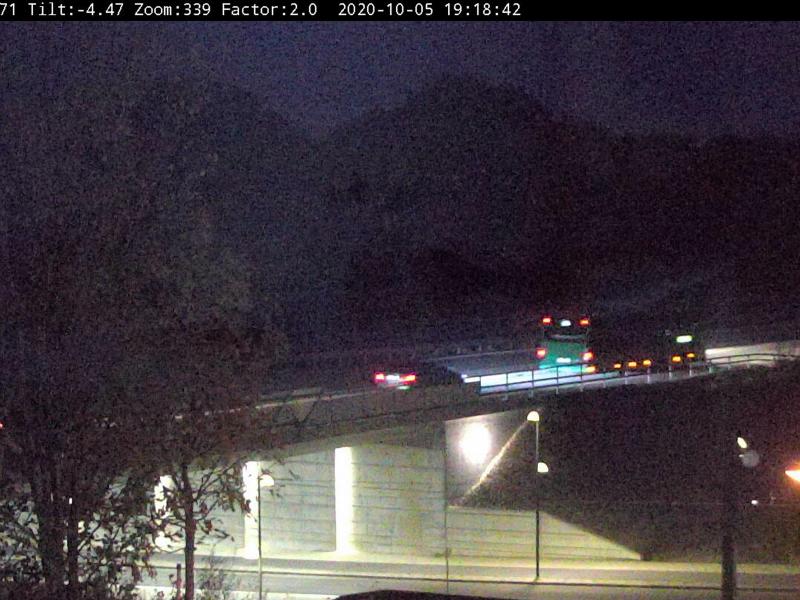
1.3.3 Light sources in traffic surveillance
Typical installations such as traffic surveillance with many light sources in combination with movement (cars) make it hard for the camera to focus properly. The behavior of the camera will appear as “Hunting Focus”.
Possible mitigation
In such scenes it might help to reduce Gain and disable the noise reduction to help the camera finding the focus faster. Remember that with noise reduction disabled the noise may increase and could affect the AF search negatively in some cases.
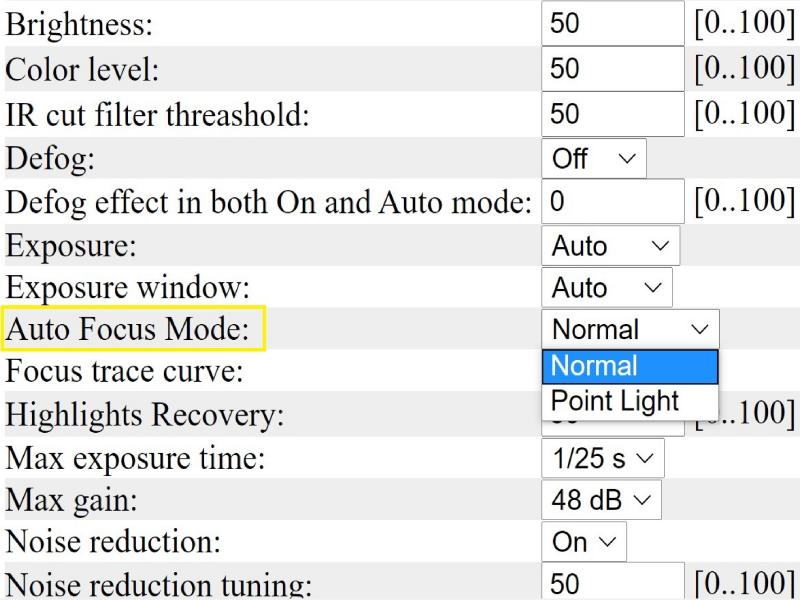
In specific situations, e.g. city surveillance with many light sources and especially the head lights from cars, could make it difficult for the camera to focus. To help the camera handle those situations, a special Auto focus mode, called Point Light has been implemented in some of our PTZ products like Q6115-E or Q6114-E. The point light mode will shrink the sensitive search area for the autofocus and increase the Near Focus Limit in order to reduce the number of point lights and to make it easier for the autofocus to find a good focus point. Please see below a generic illustration.
Some devices might have lenses that can be replaced and adjusted. The optics might require a readjustment.
1.4.1 Manual focus
Some models of camera have issue where they don’t have good focus from the start.
Possible mitigation
1.4.2 Optics replacement
Focus issues after replacing a lens.
Possible mitigation
When installing a lens, it is important to start with factory defaulted camera and lens connected to the camera and then powering it up.
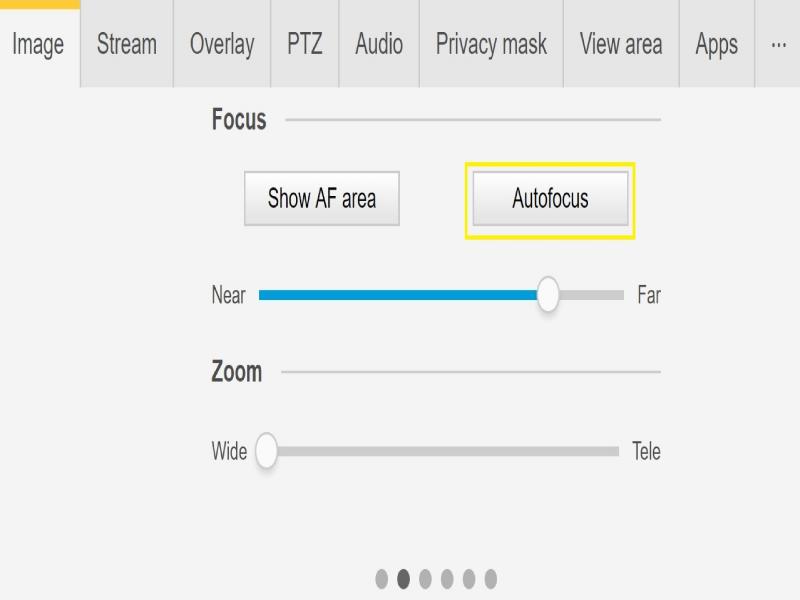
Shocks and vibrations are one of the main causes that can influence and affect focus of the Axis Fixed Cameras. The shocks and vibrations are seen mainly in installations with strong wind, heavy vehicle traffic street, less stable mounts (inadequate light poles).
Possible mitigation
It might happen that the above factors and mitigations do nott help identify and solve the focus issue. You are welcome to open a support case and provide the below needed information and data.
Note: It is always important to test the devices on the latest firmware on an LTS track or Active Track if possible.
NOTE: Please do not forget to add the server report of the device.
Support tip: How to download a server report
2.1.1 Fixed devices
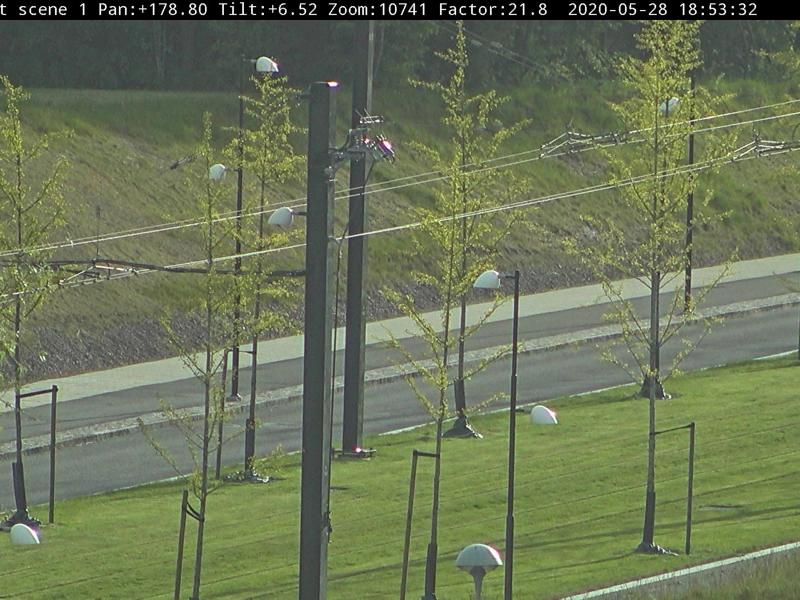
2.1.2 PTZ devices
[Please contact technical support with all questions answered and files attached]
Note
Axis cameras will operate as intended if installed as specified by the Installation Guide. Generally, the dome of the device should be facing the ground when operating or testing the devices.
Please note that Axis does not take any responsibility for how the modification of configuration described in this guide may affect your system. If the modification fails or if you get other unexpected results, you may have to restore the settings to default.
The guide does not cover all possible issues but rather covers the most commonly seen through the support cases. As an Axis Customer you are always welcome to contact Axis Support whenever you need with any type of issues listed or not in this troubleshooting guide.